MVC App
Steps to Create MVC Application
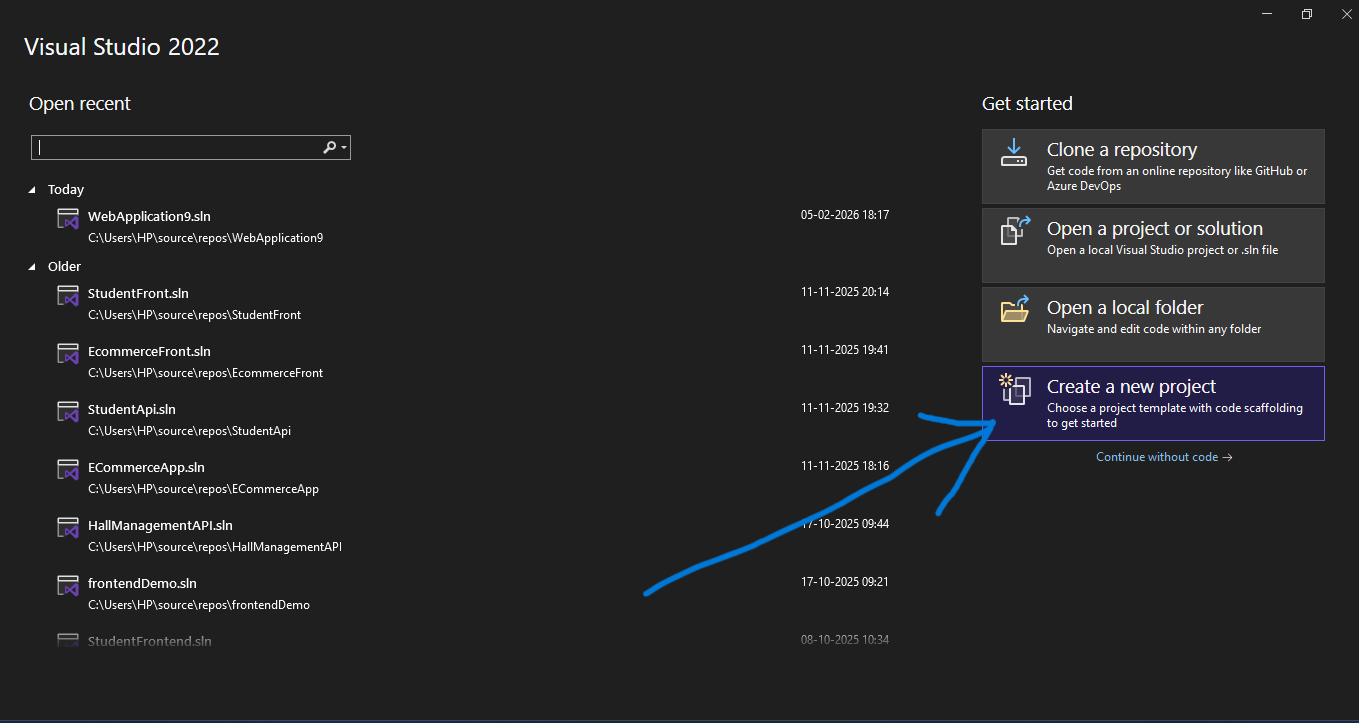
Step 1: Open Visual Studio 2022
Open Visual Studio 2022. On the start screen, click Create a new project.
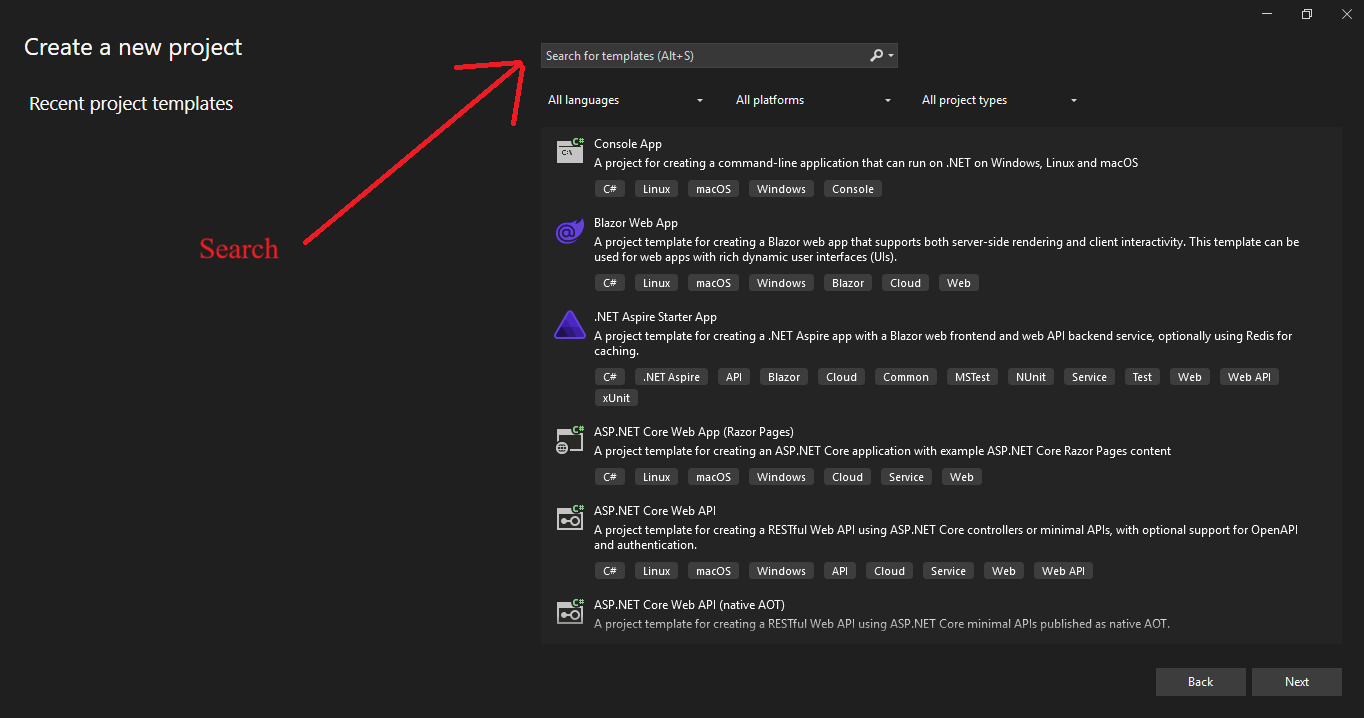
Step 2: Search
Choose ASP.NET Web App (Model-View-Controller) and language C#.
Step 2: Select Project Template
Choose ASP.NET Web Application (Model-View-Controller) and language C#.
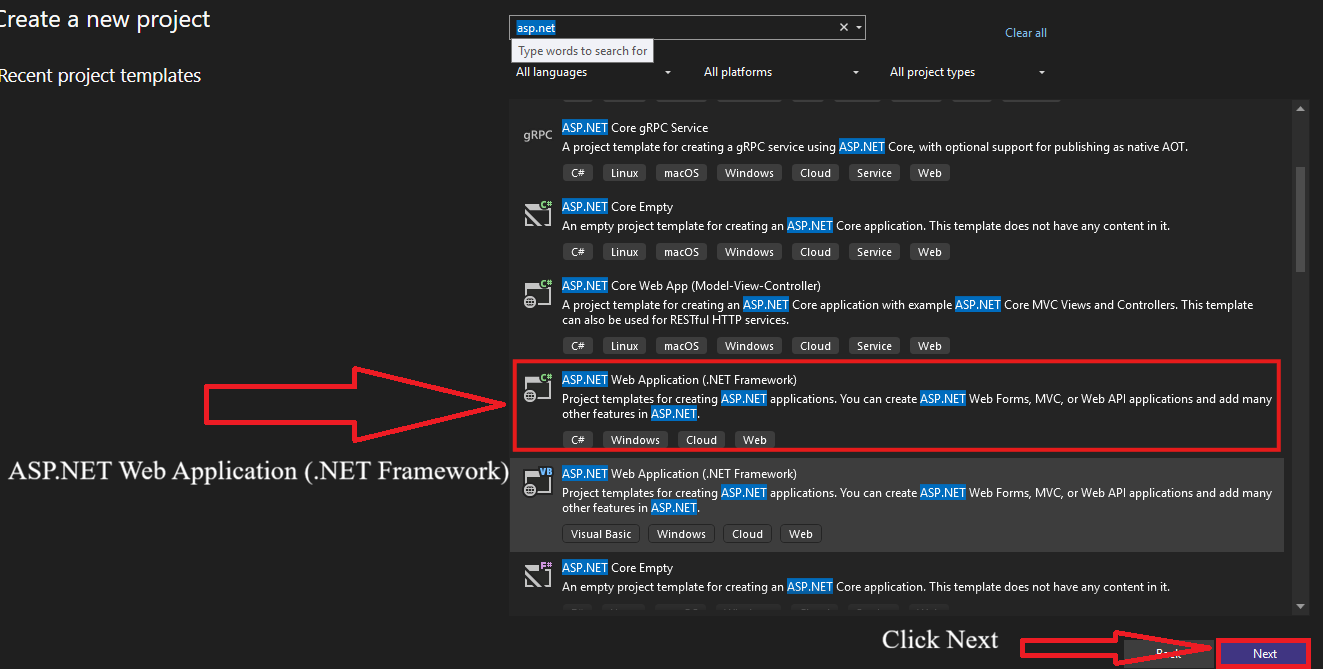
Click the Next button, Visual Studio will take a moment to configure the project.
Configure Your New Project
In this screen, you need to configure the basic settings for your ASP.NET web application.
-
Enter Your Project Name
Type a suitable name for your web application in the Project Name field. -
Project Location
Select the folder location where your project will be saved on your system. -
Select .NET Framework Version
Choose the required .NET Framework version from the dropdown list. -
Click the Create Project Button
After entering all the details, click the Create button to create the project.

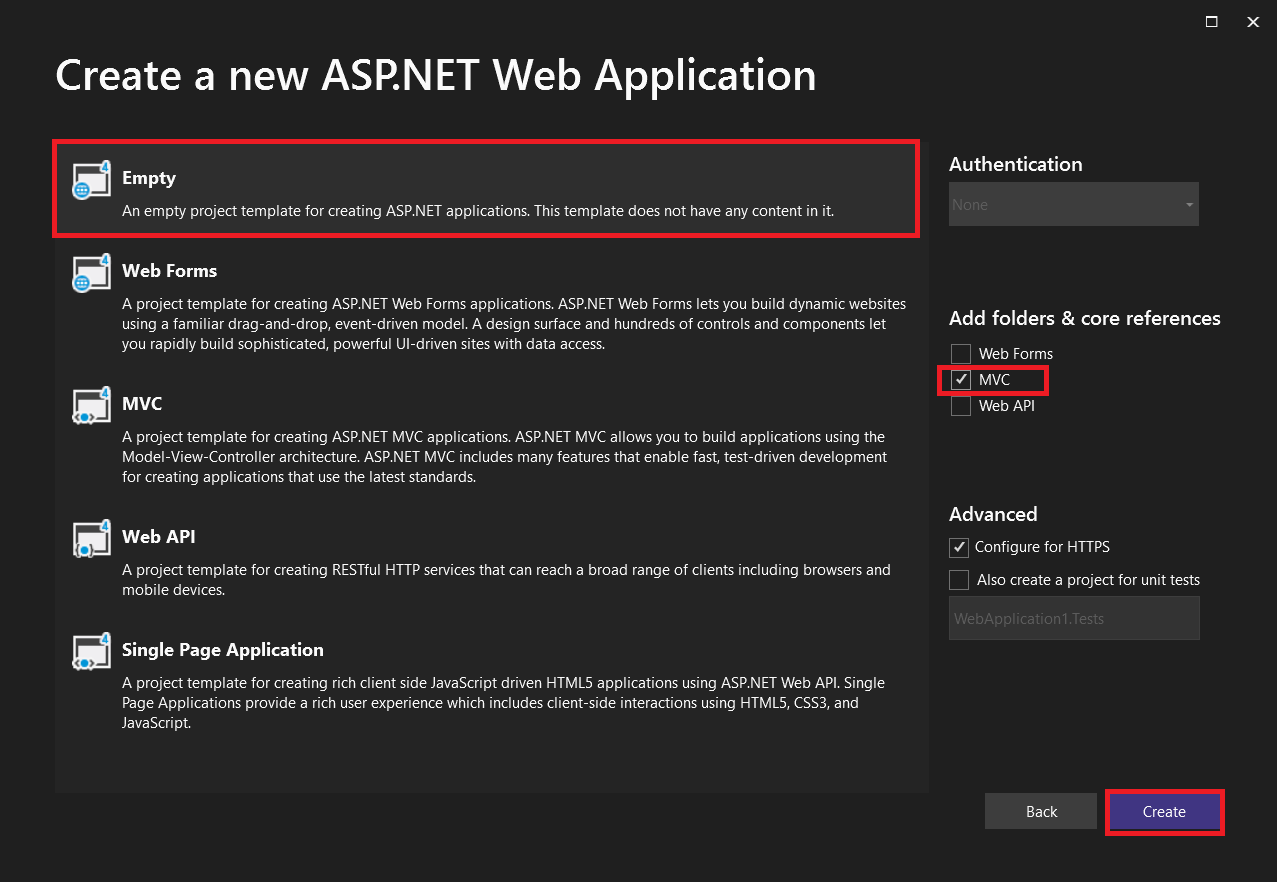
Select Project Template
In this step, you need to choose the project template and required options for your ASP.NET application.
-
Select Empty Template
Choose the Empty project template. This template does not contain any default files or content and is used to create a clean ASP.NET application from scratch. -
Add Folders & Core References
Under this section, you will see the following options:- Web Forms
- MVC
- Web API
-
Select MVC
Tick (✔) the MVC option to add Model, View, and Controller folders and core references to the project. -
Click the Create Button
After selecting all the required options, click the Create button to create the project.
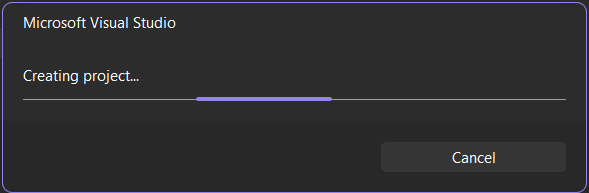
After clicking the Create button, a loading window appears while the project is being created.
Project Created Successfully
The ASP.NET web application has been created successfully.
You can now start developing your application using the MVC architecture.