Dataset Auto Form Generation
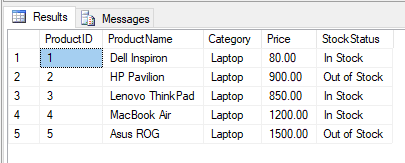
Create a table in SQL named ElectronicsProducts and add some data to it.
Step 1:
Open a new project in Visual Studio.
New->web site->visual C#->ASP.NET Empty Web Site (shown in the pictures).
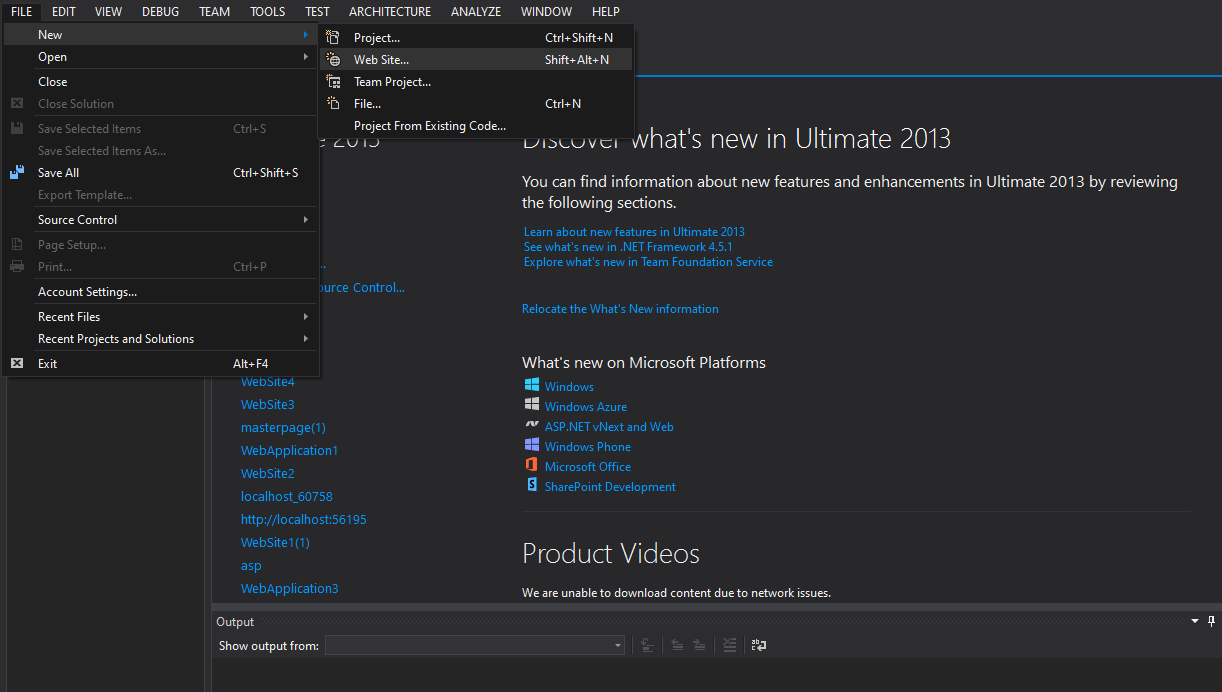
After clicking the OK button, the project "DatasetAutoForm" opens, but no file is there,
Step 2:Add new file in to our project.
Right click Project->Add->New item.
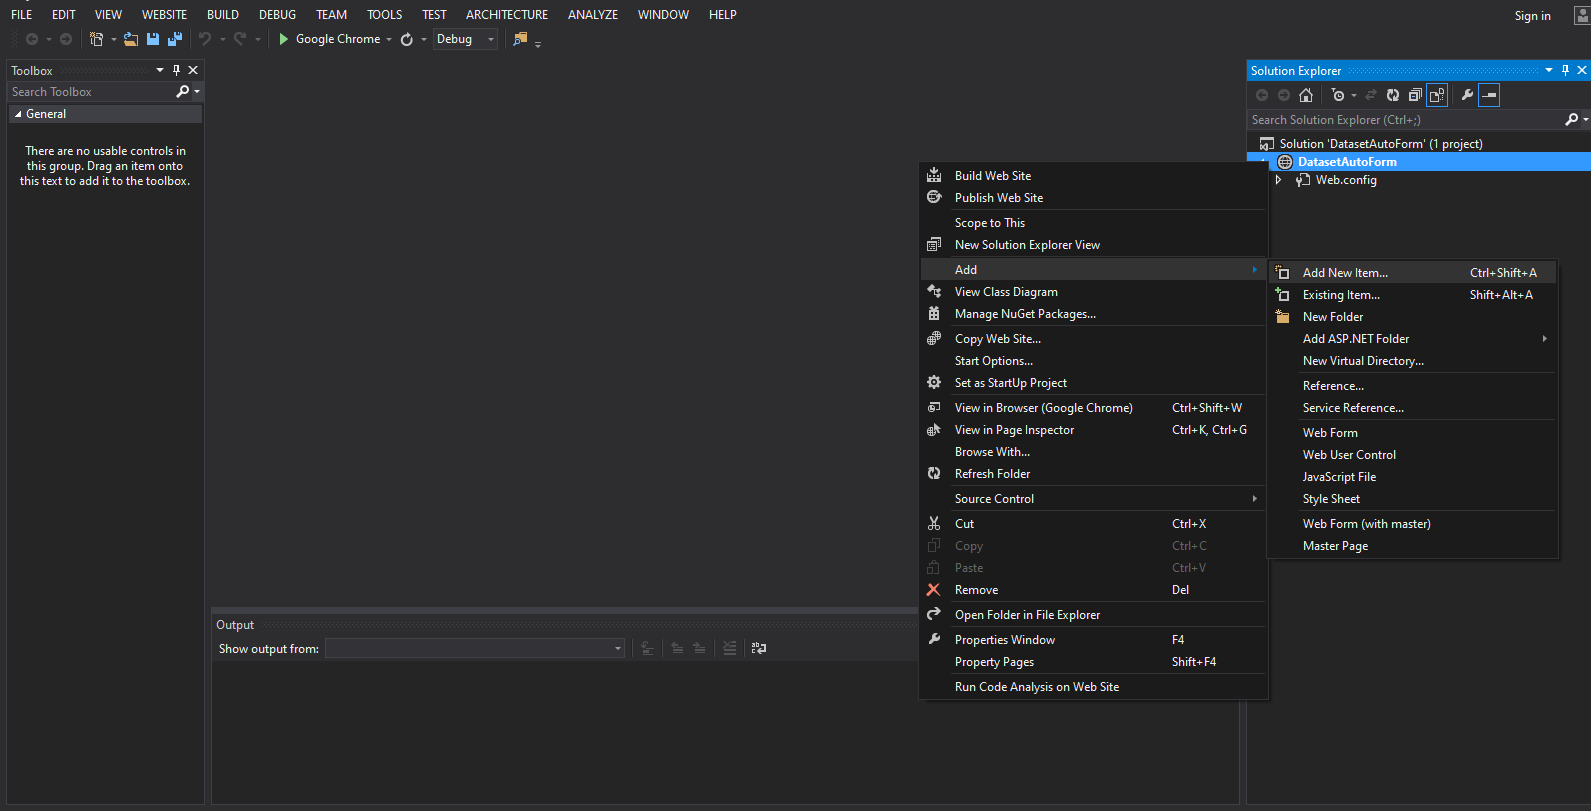
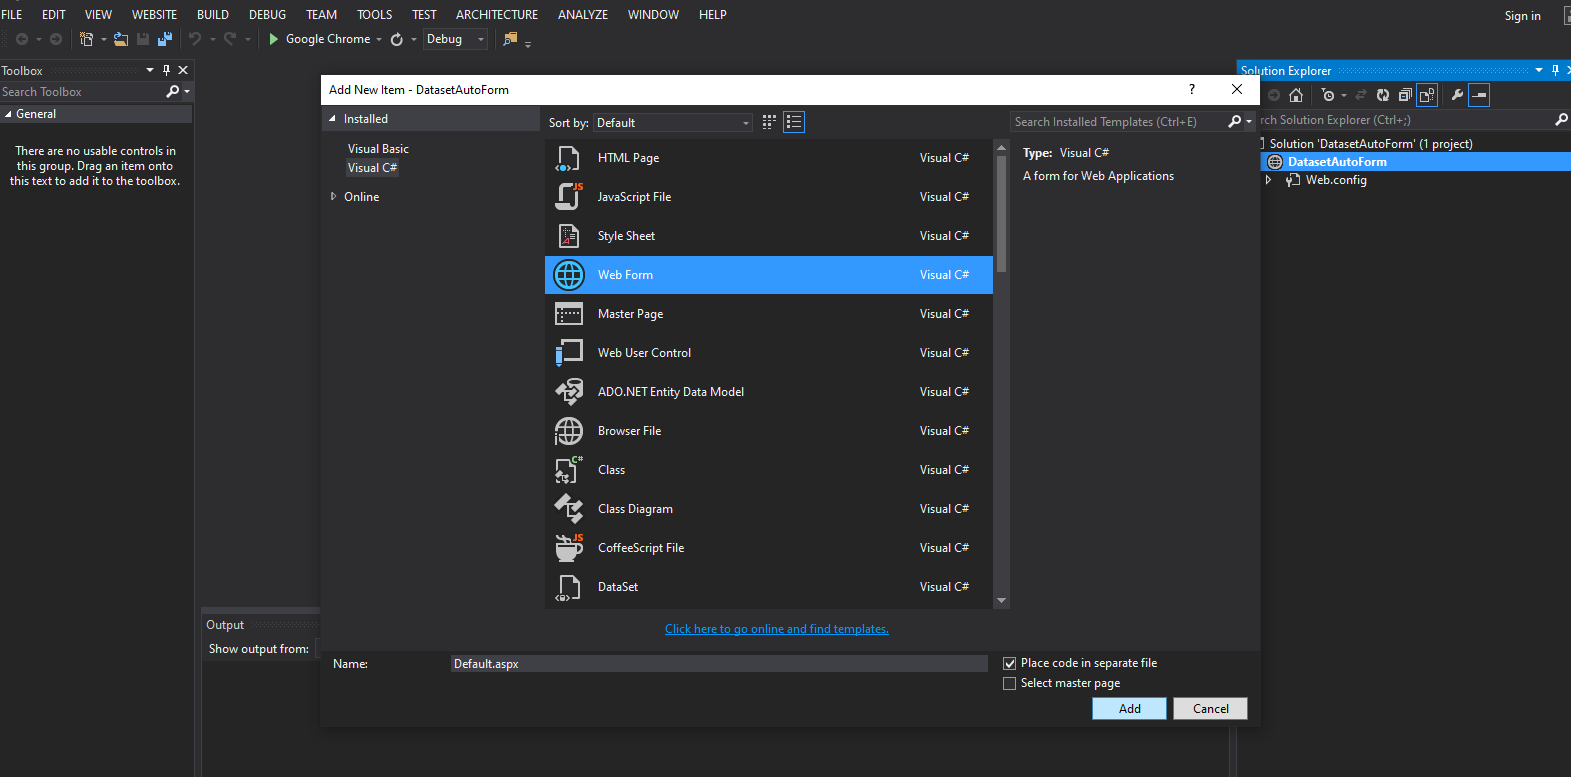
After clicking the add button, 'Default.aspx' adds to our project.
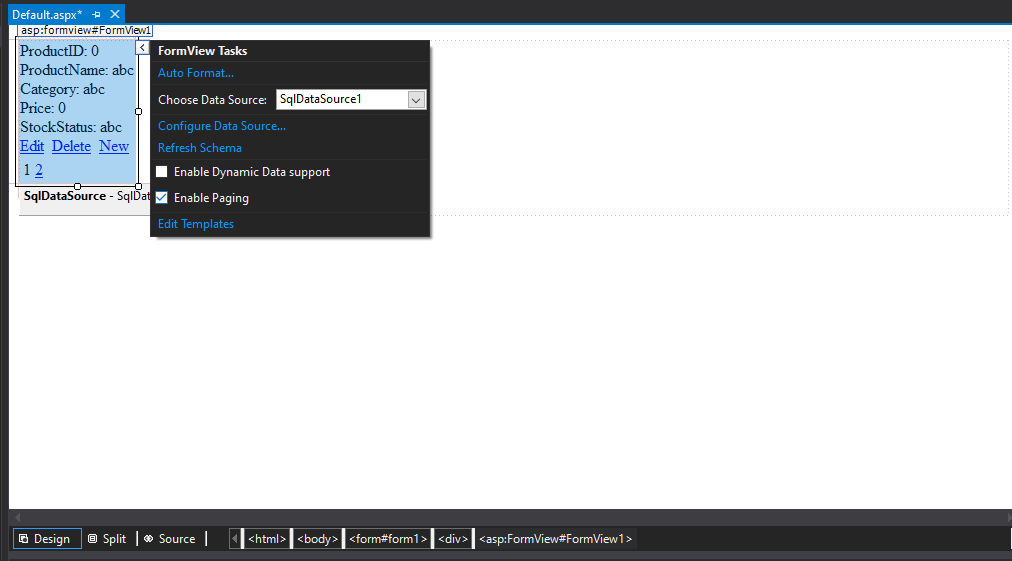
Switch to Design view, Search for 'FormView' in the Toolbox and drag it onto the page.
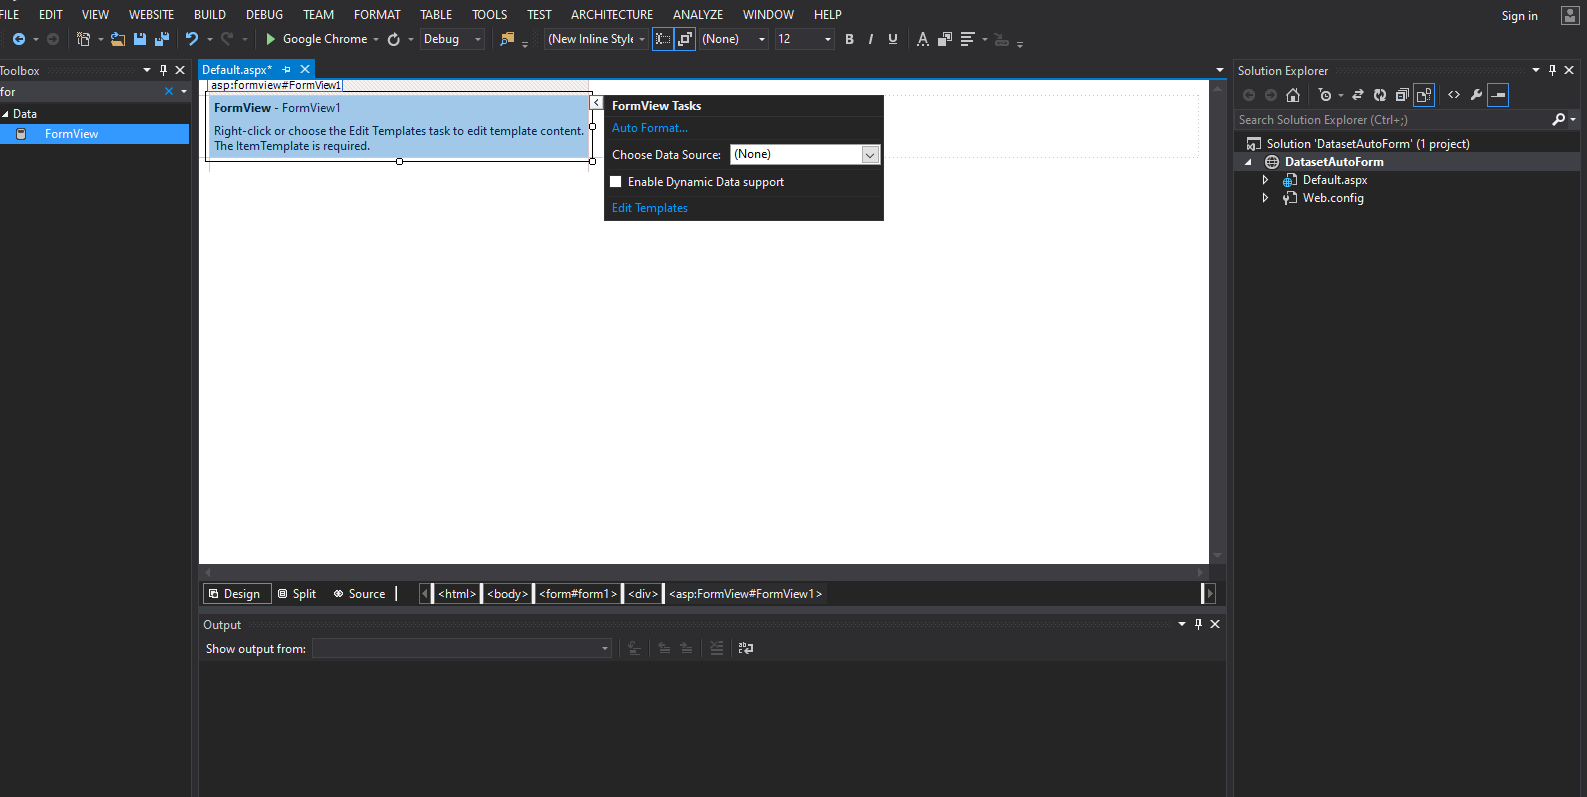
After adding the FormView, locate the 'Choose Data Source' dropdown in the properties panel or the smart tag, and select or configure your data source.

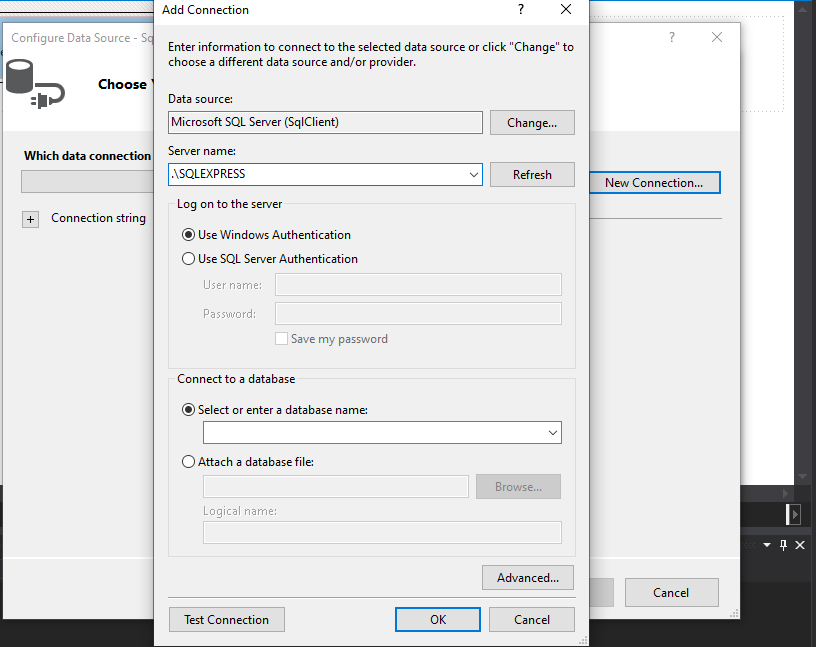
Next, enter the server name in the provided field to connect to the database.
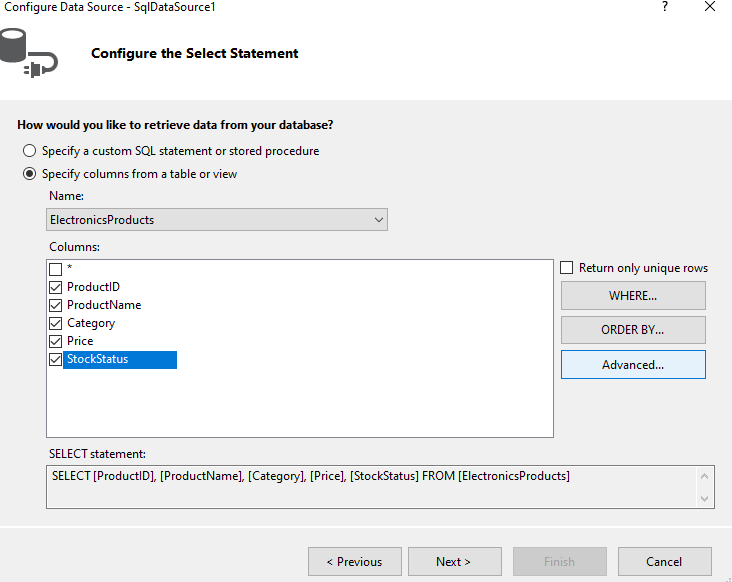
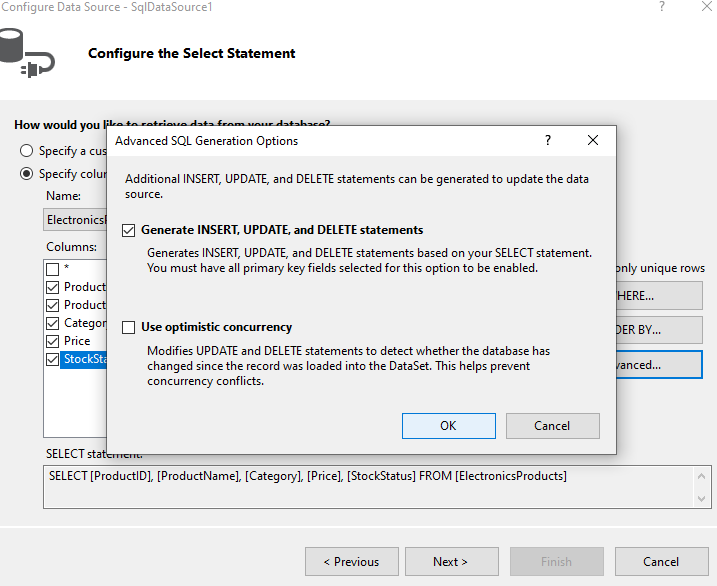
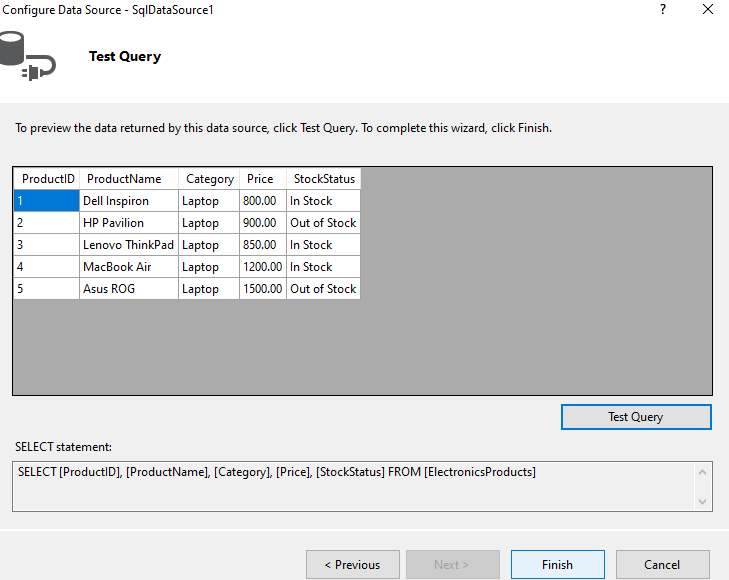
Next, select the desired column from the list and click on the 'Advanced' button to proceed with further configurations.
After configuring the data source, test the connection by clicking the 'Test Connection' button. If successful, click 'Finish' to finalize the process
Enable paging for the control to allow navigation through data in multiple pages
After running the program, the output should look like this (as shown in the image).
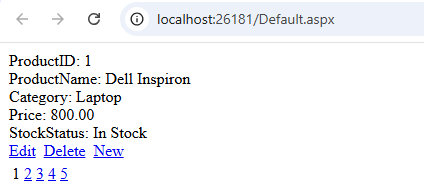
With the current setup, you can now add new entries, modify existing data, or delete records from the database.