TempData in ASP.NET MVC
What is TempData?
TempData is used to pass data from one Controller action to another action in ASP.NET MVC.
It stores data temporarily.
It works only for the next request.
After it is read once, it gets removed automatically.
Why Do We Use TempData?
- To pass data from one Action to another
- To send data after Redirect
- To show Success or Error messages
- To store short-term data
Important Points
- Works with RedirectToAction()
- Uses Session internally
- Automatically clears after one request
Real-Life Example
When a user submits a form:
- Data is saved
- User is redirected to another page
- A success message is displayed
That success message is stored using TempData.
Controller Example
public ActionResult Create()
{
    TempData["Message"] = "Student Created Successfully!";

    return RedirectToAction("Index");
}

public ActionResult Index()
{
    return View();
}
View Example (Index.cshtml)
@if (TempData["Message"] != null)
{
    <h3>
        @TempData["Message"]
    </h3>
}
ViewBag vs ViewData vs TempData
| Feature | ViewBag | ViewData | TempData |
|---|---|---|---|
| Life | Current Request | Current Request | Next Request |
| Redirect Support | No | No | Yes |
| Type | Dynamic | Dictionary | Dictionary |
Summary
✔ ViewBag → Same Page
✔ ViewData → Same Page
✔ TempData → Next Page (After Redirect)
Passing Data Between Actions Using TempData
Inside the Models folder, right-click and select Add → Class. Create a new class file named Student.cs .
This class defines the properties of an Student, such as StudentId, Name, Course, and Fees. It represents the structure of student data used in the application.
using System;
using System.Collections.Generic;
using System.Linq;
using System.Web;

namespace Your_Project_Name.Models
{
    public class Student
    {
        public int StudentId { get; set; }

        public string Name { get; set; }

        public string Course { get; set; }

        public int Fees { get; set; }
    }
}
Now, go to the Controllers folder 📁, right-click on it, and select Add → Controller.
Choose MVC 5 Controller – Empty and click Add.
Name the controller HomeController and click Add.
After clicking Add, the file HomeController.cs will be created inside the Controllers folder.
Simple:
Controllers 📁 → Right Click → Add Controller →
Name it HomeController.
using System;
using System.Collections.Generic;
using System.Linq;
using System.Web;
using System.Web.Mvc;
using Your_Project_Name.Models;

namespace Your_Project_Name.Controllers
{
    public class HomeController : Controller
    {
        public ActionResult Details()
        {
            Student stu = new Student()
            {
                StudentId = 101,
                Name = "AIT",
                Course = "DFD",
                Fees = 45000
            };

            TempData["StudentData"] = stu;

            return View();
        }
    }
}
Adding Details View and Updating Code
Go to the HomeController. Right-click on the Details() action method and select Add View.
In the Add View window:
- View Name: Details
- Select MVC 5 View
- Choose template: Empty (without model)
- Click Add
After the View is created, open Details.cshtml.
Now remove the default content inside the file.
Then copy the code that I have provided below and paste it into the Details.cshtml file.
Simple:
Right-click on Details → Add View → Select Empty → Click Add →
Copy the given code and paste it into the View file.
@using Your_Project_Name.Models

@{
    var student = TempData["StudentData"] as Student;
}

<h2>Student Details (Using TempData)</h2>

@if (student != null)
{
    <table border="1" cellpadding="8">
        <tr>
            <td>Student ID</td>
            <td>@student.StudentId</td>
        </tr>
        <tr>
            <td>Name</td>
            <td>@student.Name</td>
        </tr>
        <tr>
            <td>Course</td>
            <td>@student.Course</td>
        </tr>
        <tr>
            <td>Fees</td>
            <td>@student.Fees</td>
        </tr>
    </table>
}
else
{
    <p style="color:red;">No Data Available</p>
}
Output
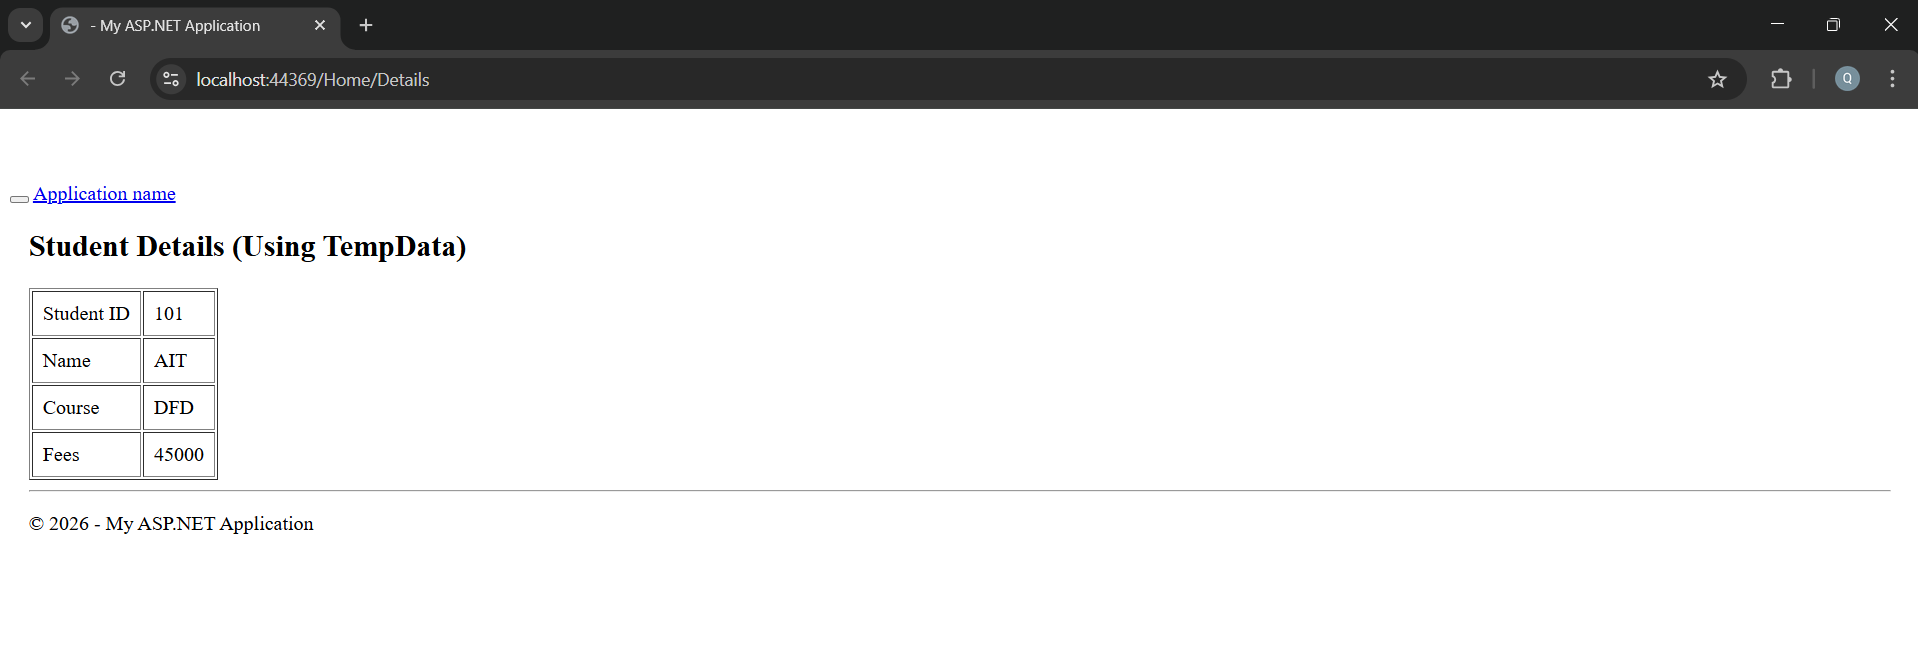
Application URL
https://localhost:44369/Home/Details