Create A Views in ASP.NET MVC
In ASP.NET MVC, a View is used to present the final output to the user in the browser.
After the Controller completes its work, it passes the required data to the View, which is then shown as a web page.
What is a View?
A View is a file with the .cshtml extension that contains HTML along with Razor syntax.
In simple terms, a View is responsible for showing data on the screen and does not handle request processing.
Create a View in ASP.NET MVC – Steps
Step 1:
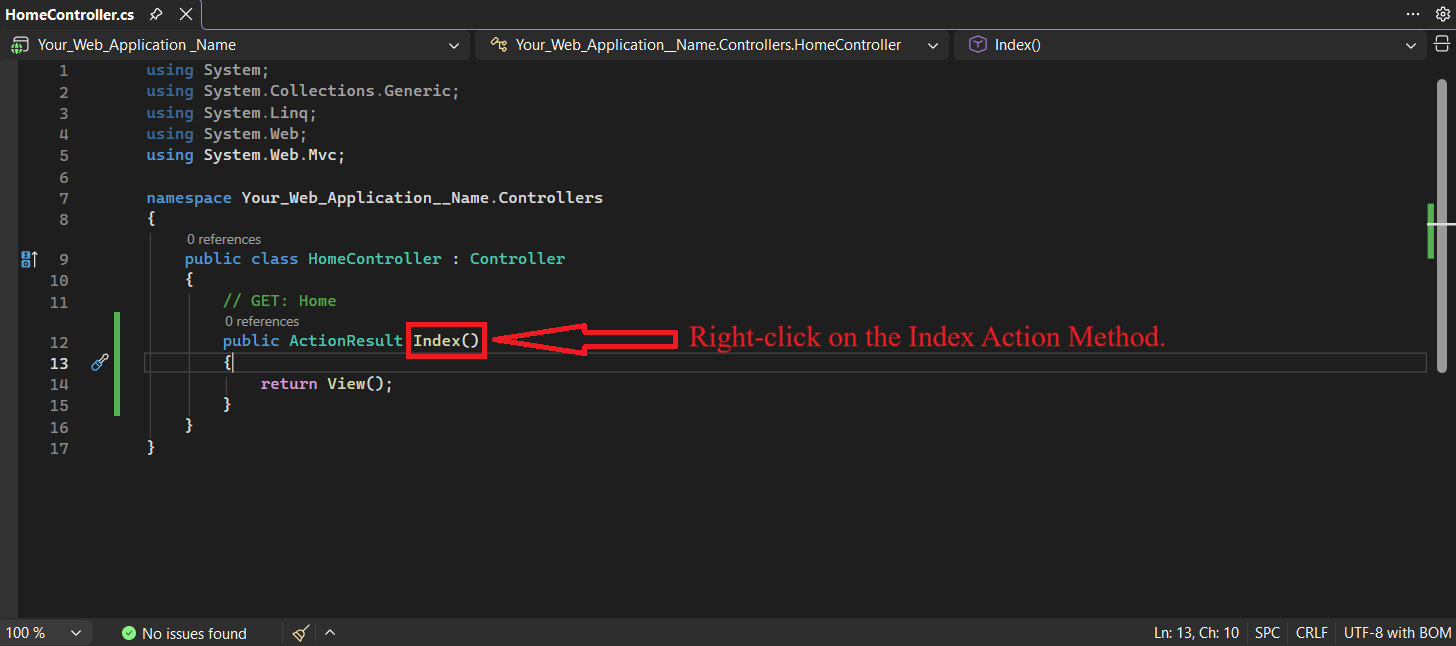
Open the required Controller.
Example: HomeController
using System.Collections.Generic;
using System.Linq;
using System.Web;
using System.Web.Mvc;

namespace Your_WebApplication_Name.Controllers
{
    public class HomeController : Controller
    {
        // GET: Home
        public ActionResult Index()
        {
            return View();
        }
    }
}
Step 2:
Find the Action Method where you want to create the View.
public ActionResult Index()
{
    return View();
}
Step 3:
Right-click on the Index Action Method.
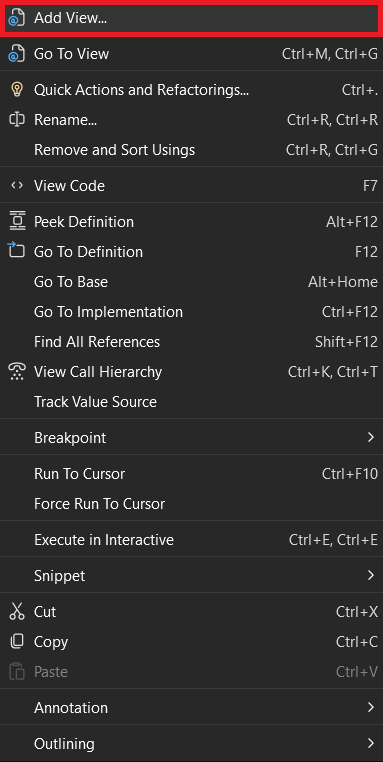
 Then click Add View.
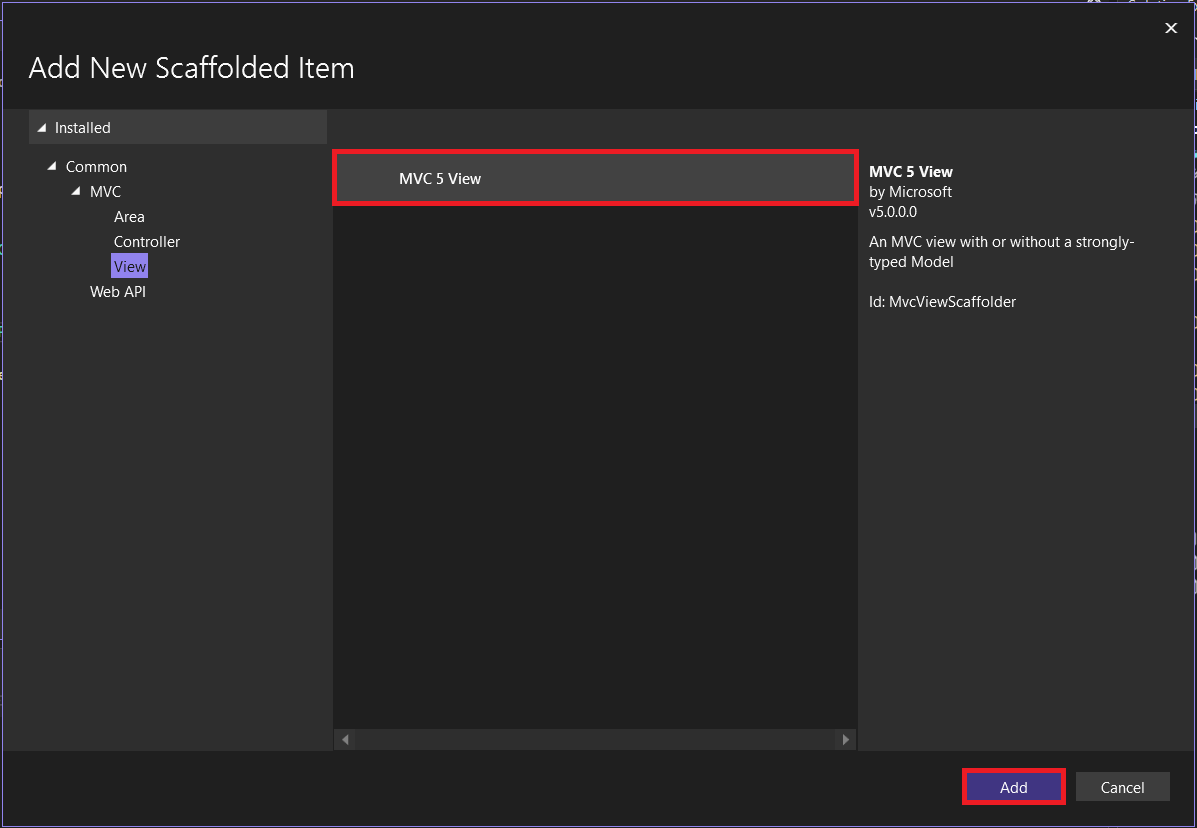
Step 4:
A new window will open (MVC 5 View).
Click on the Add button.
Another window will open.
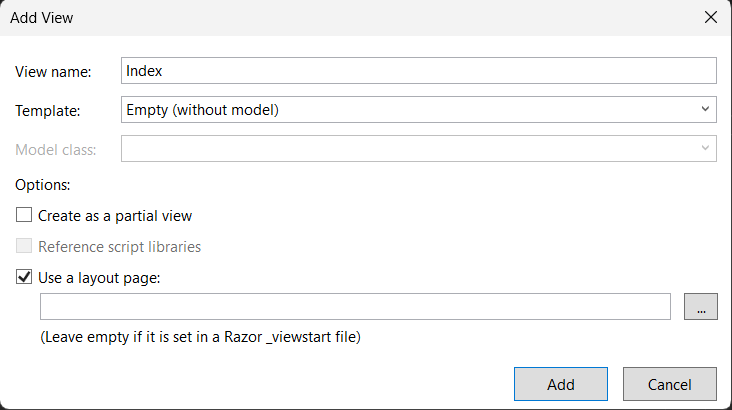
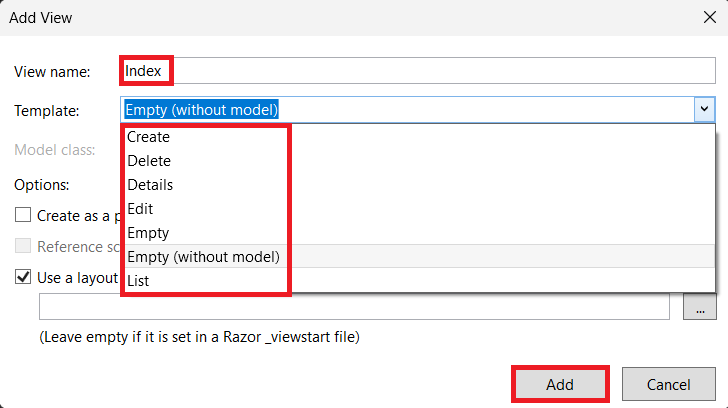
Step 5:
Another window will open where you can:
- Change the View Name
- Select a Template
Available Templates:
- Create
- Delete
- Details
- Edit
- Empty
- Empty (without model)
- List
Click on the Add button.
Auto Generated Code
@{
    ViewBag.Title = "Index";
}

<h2>Index</h2>
Output
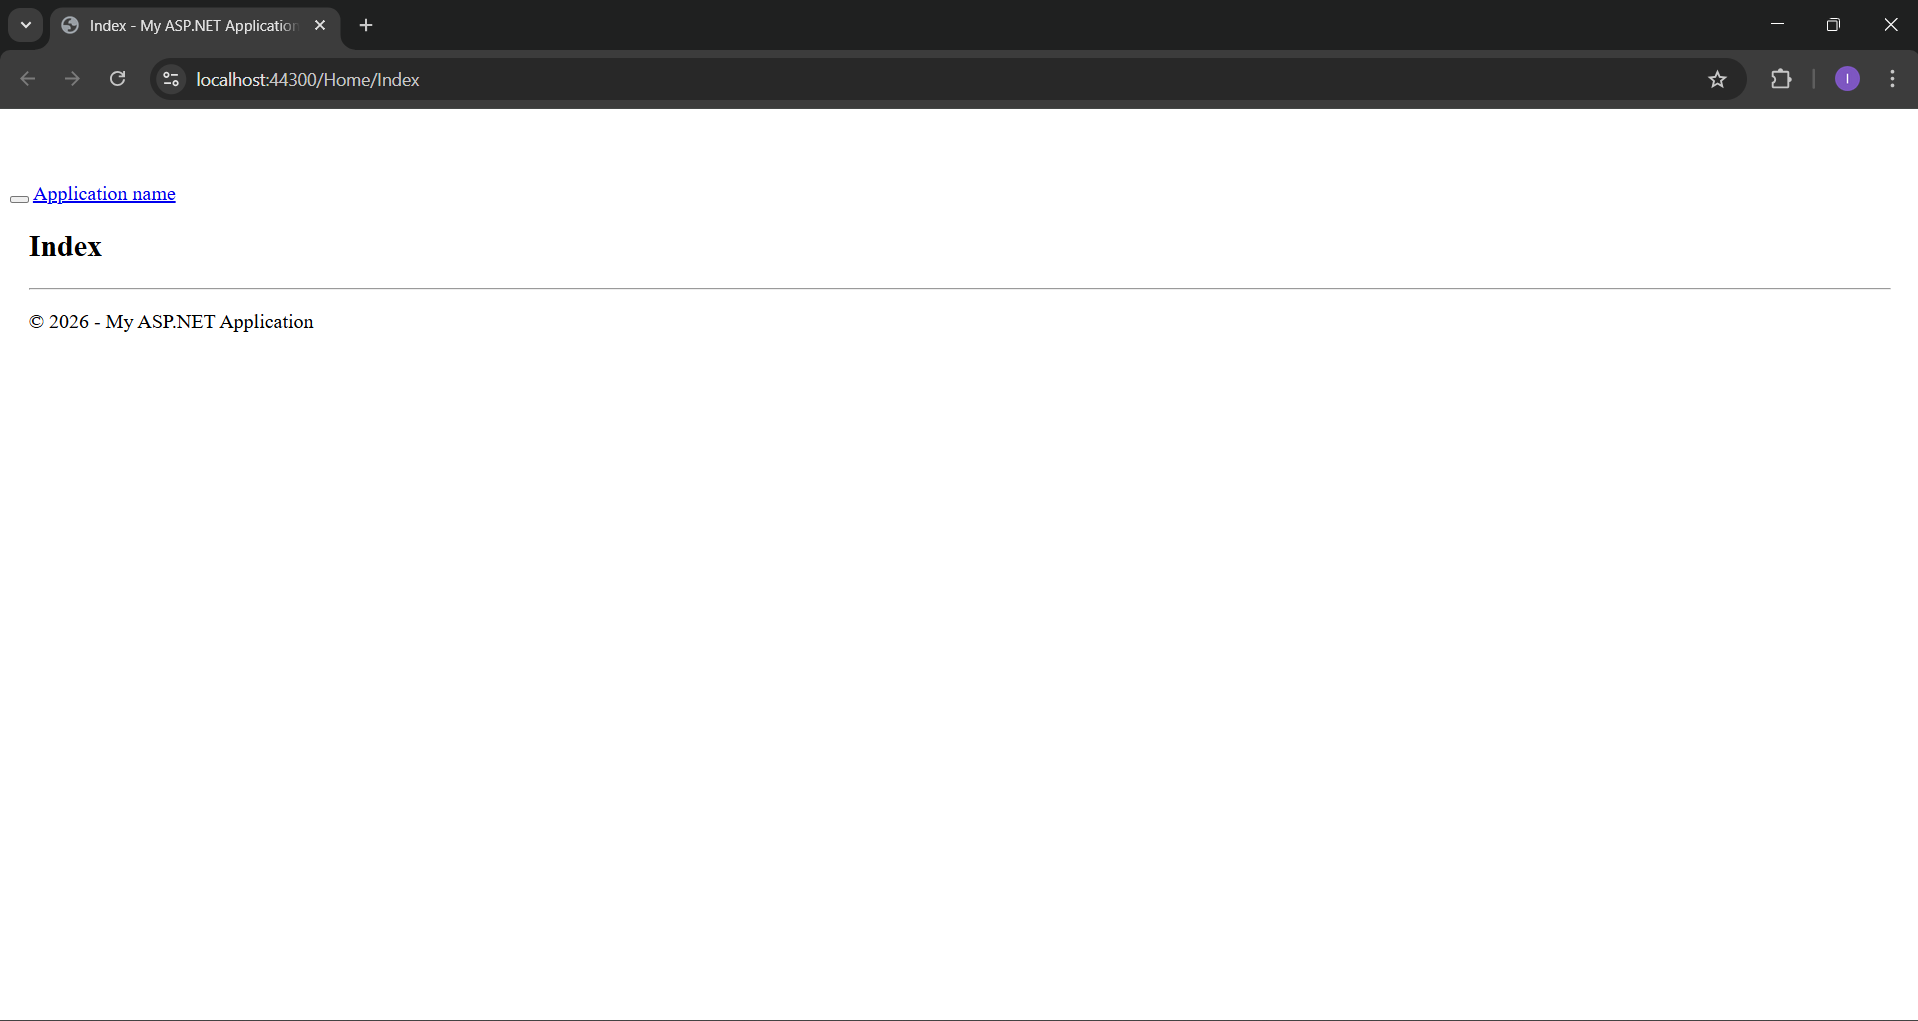
Application URL
https://localhost:44300/Home/Index