Entity Framework with Multiple Tables
Example: Employee & Department
What is Multiple Table Relationship?
In real-world applications, data is stored in multiple related tables.
In this example, we will work with:
- Department Table
- Employee Table
One Department can have many Employees. This is called a One-to-Many Relationship.
Important Instructions
Below are the SQL scripts required to create the tables.
Please follow the steps carefully:
- Copy the given SQL code.
- Open SQL Server / SQL Server Management Studio (SSMS).
- Paste the code into a new query window.
- Click on Execute or press F5.
After running the script successfully, the required tables (Employee and Department) will be created automatically in the database.
CREATE DATABASE MVC_MultipleTable;
GO

USE MVC_MultipleTable;
GO

-- Drop tables if they exist
IF OBJECT_ID('Employee', 'U') IS NOT NULL DROP TABLE Employee;
IF OBJECT_ID('Department', 'U') IS NOT NULL DROP TABLE Department;
GO

-- Create Department Table
CREATE TABLE Department
(
  Id INT PRIMARY KEY IDENTITY,
  Name NVARCHAR(50)
);
GO

-- Insert test data into Department table
INSERT INTO Department VALUES
('IT'),
('HR'),
('Marketing');
GO

-- Create Employee Table
CREATE TABLE Employee
(
  EmployeeId INT PRIMARY KEY IDENTITY(1,1),
  Name NVARCHAR(50),
  Gender NVARCHAR(10),
  City NVARCHAR(50),
  DepartmentId INT
);
GO

-- Add Foreign Key
ALTER TABLE Employee
ADD FOREIGN KEY (DepartmentId)
REFERENCES Department(Id);
GO

-- Insert updated test data into Employee Table
INSERT INTO Employee VALUES
('Ayaan', 'Male', 'Delhi', 2),
('Sana', 'Female', 'Pune', 1),
('Imran', 'Male', 'Chennai', 3),
('Zoya', 'Female', 'Kolkata', 2),
('Farhan', 'Male', 'Ahmedabad', 1),
('Mehak', 'Female', 'Jaipur', 3),
('Rahul', 'Male', 'Lucknow', 2),
('Nazia', 'Female', 'Surat', 1),
('Arman', 'Male', 'Bhopal', 3);
GO


-- Select Data
SELECT * FROM Employee;
SELECT * FROM Department;
How to Connect SQL Database with MVC (Step-by-Step Explanation)
After creating your table in SQL Server, the next step is to connect it with your ASP.NET MVC Project so that the Model Classes are generated automatically.
Step 1: Create a New ASP.NET MVC Project
- Open Visual Studio 2022.
- Click Create a new project.
- Select ASP.NET Web App (Model-View-Controller) and choose language C#.
- Click Next.
- Enter:
- Project Name
- Project Location
- Select the required .NET Framework Version.
- Click Create.
Now select:
- Template: Empty
- ✔ Tick the MVC option (Very Important)
Click Create again.
✔ Project Created Successfully.
Step 2: Add Database Model (Important Step)
Now we will connect the SQL Database with MVC.
- Right Click on Project Name
- Select Add → New Item
- Choose Data
- Select ADO.NET Entity Data Model
- Click Add
This step is very important because it automatically generates the Model Classes from the SQL tables.
What Happens After This?
- The system connects to SQL Server.
- You select your Database.
- You select your Tables.
- Entity Framework automatically generates:
- ✔ Model Class
- ✔ DbContext Class
Just like we did in our previous example: How To Conect ADO.NET
Important Note
After connecting the database using Entity Framework (Database First), the required Model classes are automatically generated.
So, there is no need to manually create Model classes. Entity Framework will create them for you.
What You Need to Do
- Create Employee Controller
- Create Department Controller
- Add Views for both Controllers
I am providing the required Controller code below.
Simply follow these steps:
- Copy the given Controller code.
- Open your Controller file.
- Paste the code inside the Controller.
- Build and Run the project.
After that, create the Views for Employee and Department using Scaffold or by adding View files manually.
Now, create a new controller for the Student.
Go to the Controllers folder 📁, right-click on it, and select Add → Controller.
Choose MVC 5 Controller – Empty and click Add.
Name the controller DepartmentController and click Add.
After creating the controller, open DepartmentController.cs and update it with the code provided.
Simple:
Controllers 📁 → Right Click → Add Controller →
Name it DepartmentController →
Open file → Update the code.
using System;
using System.Collections.Generic;
using System.Linq;
using System.Web;
using System.Web.Mvc;

namespace Your_Project_Name.Controllers
{
    public class DepartmentController : Controller
    {
        // GET: Department
        public ActionResult Index()
        {
            MVC_MultipleTableEntities dbContext = new MVC_MultipleTableEntities();

            List<Department> listDepartments = dbContext.Departments.ToList();

            return View(listDepartments);
        }
    }
}
After creating the DepartmentController, open the controller file and right-click on the Index action method. Select Add View.
Configure the Add View options:
- View Name: Index
- Template: Empty (without model)
- Model Class:
- Data Context Class:
Important:
When Index.cshtml opens, delete all existing code.
Then copy the Department Index.cshtml code given below and paste it inside this file.
Save the file and run the project.
Index.cshtml@using Your_Project_Name; @model IEnumerable<Department> <div style="font-family:Arial"> @{ ViewBag.Title = "Departments List"; } <h2>Departments List</h2> <ul> @foreach (Department department in Model) { <li> @Html.ActionLink(department.Name,"Index","Employee",new { departmentId = department.Id },null) </li> } </ul> </div>
Create Employee Controller
Now, create a new controller for the Employee.
Go to the Controllers folder 📁, right-click on it, and select Add → Controller.
Choose MVC 5 Controller – Empty and click Add.
Name the controller EmployeeController and click Add.
After creating the controller, open EmployeeController.cs and update it with the code provided below.
using System;
using System.Collections.Generic;
using System.Linq;
using System.Web;
using System.Web.Mvc;

namespace Your_Project_Name.Controllers
{
    public class EmployeeController : Controller
    {
        // GET: Employee
        public ActionResult Index(int departmentId)
        {
            MVC_MultipleTableEntities db = new MVC_MultipleTableEntities();

            var employees = db.Employees.Where(e => e.DepartmentId == departmentId).ToList();

            var department = db.Departments.Single(d => d.Id == departmentId);

            ViewBag.DepartmentName = department.Name;

            return View(employees);
        }

        public ActionResult Details(int id)
        {
            MVC_MultipleTableEntities dbContext = new MVC_MultipleTableEntities();

            Employee employee =dbContext.Employees.FirstOrDefault(x => x.EmployeeId == id);

            return View(employee);
        }
    }
}
After creating the EmployeeController, open the controller file and right-click on the Index action method. Select Add View.
Configure the Add View options:
- View Name: Index
- Template: Empty (without model)
- Model Class:
- Data Context Class:
Important:
When Index.cshtml opens, delete all existing code.
Then copy the Employee Index.cshtml code given below and paste it inside this file.
Save the file and run the project.
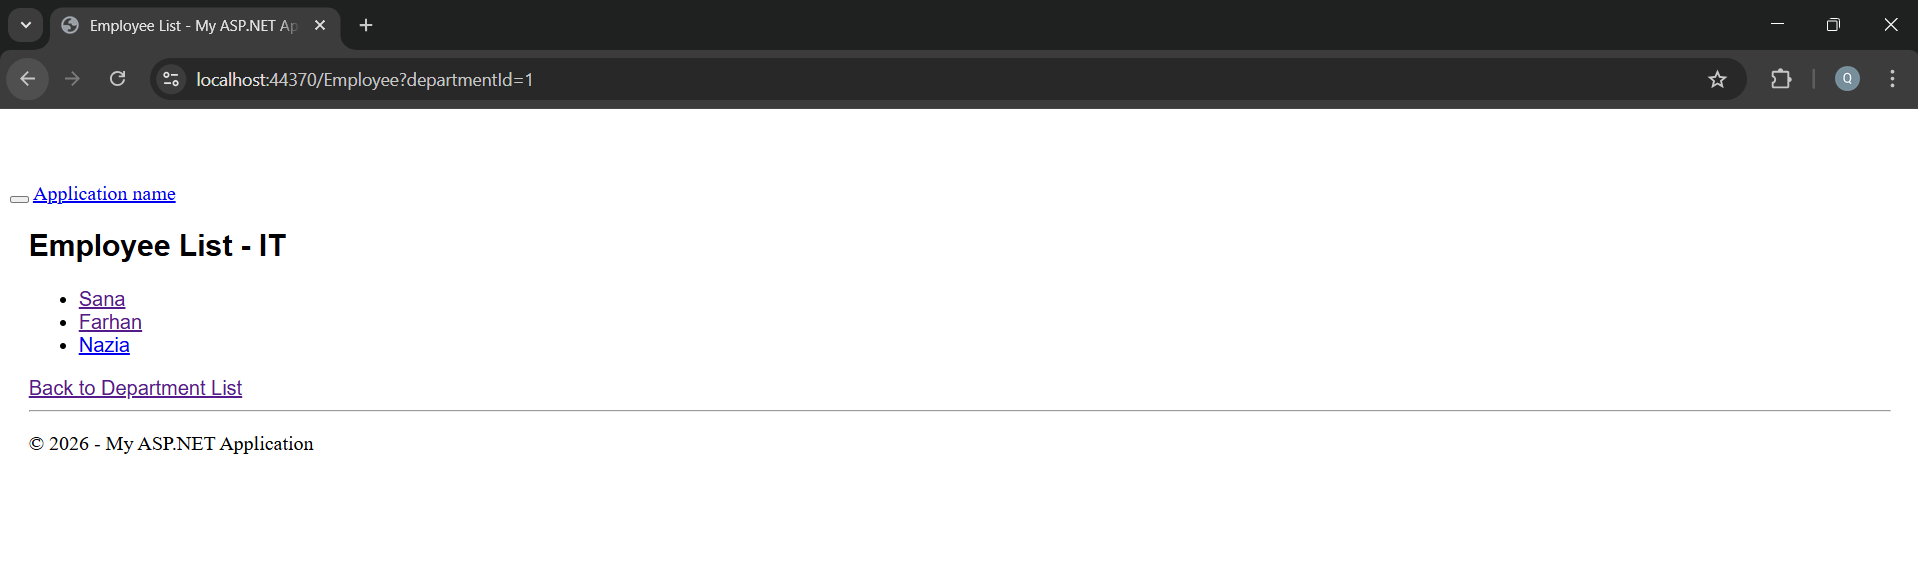
Index.cshtml@model IEnumerable<Your_Project_Name.Employee> <div style="font-family:Arial"> @{ ViewBag.Title = "Employee List"; } <h2> Employee List - @ViewBag.DepartmentName </h2> <ul> @foreach (Employee employee in Model) { <li> @Html.ActionLink(employee.Name,"Details",new { id = employee.EmployeeId }) </li> } </ul> @Html.ActionLink("Back to Department List","Index","Department") </div>
EmployeeController – Add Details Action
- Right-click on Details
- Select Add View
- Set View Name: Details
- Select Template: Empty (or Details if using model)
- Click Add
Now the Details View is created successfully.
Then update the Details.cshtml file with the required code.
@model Your_Project_Name .Employee

@{
    ViewBag.Title = "Employee Details";
}

<h2>Employee Details</h2>
<h2>@Model.Department</h2>

<table style="font-family:Arial">
    <tr>
        <td>Employee ID:</td>
        <td>@Model.EmployeeId</td>
    </tr>
    <tr>
        <td>Name:</td>
        <td>@Model.Name</td>
    </tr>
    <tr>
        <td>Gender:</td>
        <td>@Model.Gender</td>
    </tr>
    <tr>
        <td>City:</td>
        <td>@Model.City</td>
    </tr>
</table>

<p>
    @Html.ActionLink("Back to Employee List","Index",new { departmentId = Model.DepartmentId })
</p>
Update RouteConfig.cs
Open the RouteConfig.cs file.
By default, the route is set to:
defaults: new { controller = "Home", action = "Index", id = UrlParameter.Optional }
I have changed "Home" to "Department".
Now the updated code will be:
defaults: new { controller = "Department", action = "Index", id = UrlParameter.Optional }
Important:
When you run the project, it will directly open the Department Controller instead of the Home Controller.
using System;
using System.Collections.Generic;
using System.Linq;
using System.Web;
using System.Web.Mvc;
using System.Web.Routing;

namespace Your_Project_Name
{
    public class RouteConfig
    {
        public static void RegisterRoutes(RouteCollection routes)
        {
            routes.IgnoreRoute("{resource}.axd/{*pathInfo}");

            routes.MapRoute(
                name: "Default",
                url: "{controller}/{action}/{id}",
                defaults: new
                {
                    controller = "Department",action = "Index",id = UrlParameter.Optional
                }
            );
        }
    }
}
Output
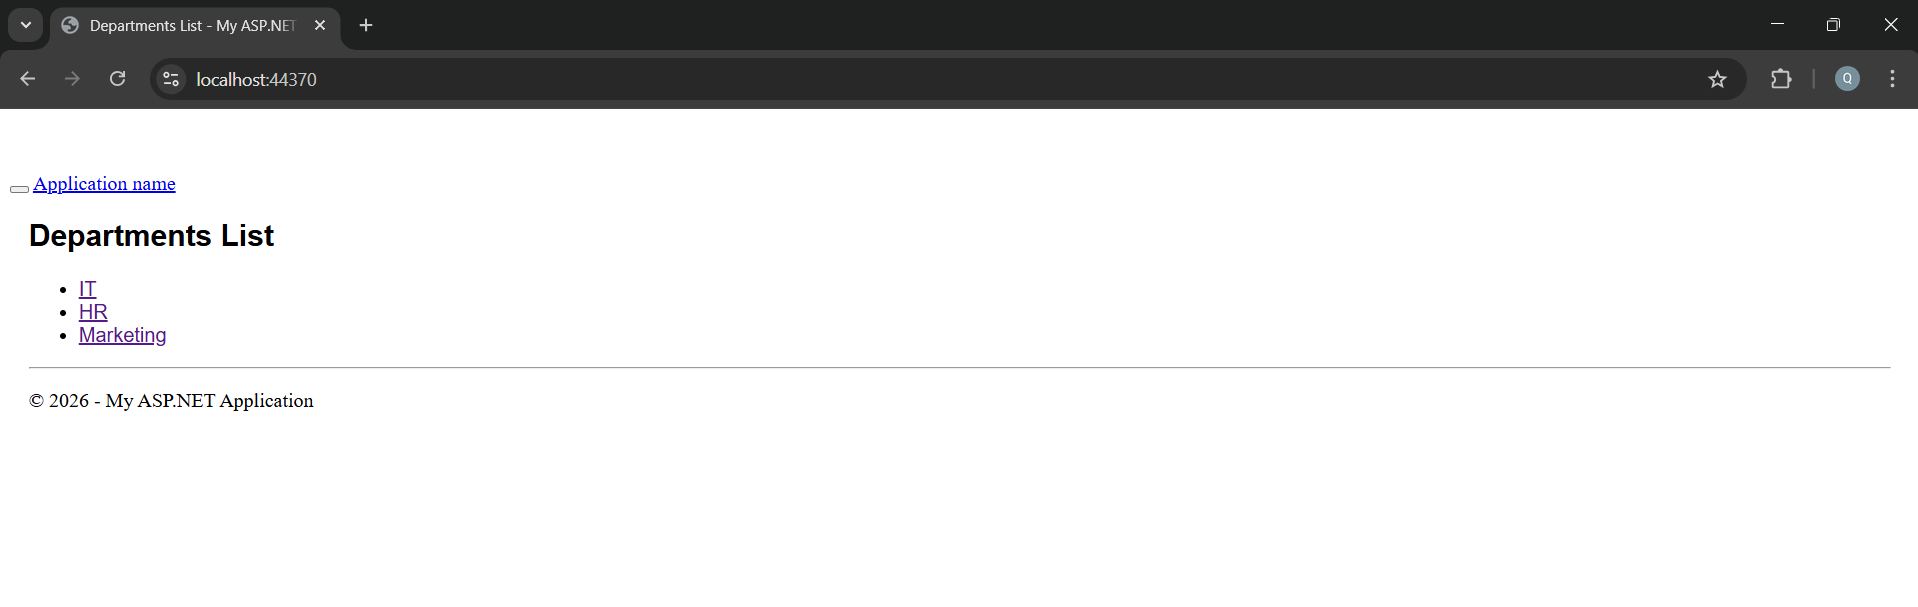
Application URL
https://localhost:44369/Department/Index