Creating First ASP.NET MVC Application
Creating the First ASP.NET MVC Application:
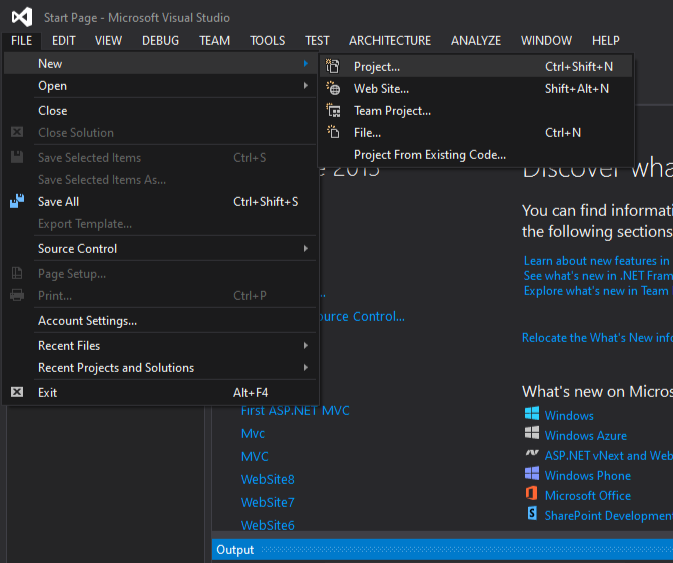
Start by opening Visual Studio and selecting the New Project option from the Startup page. Alternatively, you can create a new application by going to File → New → Project, as shown in the image below.
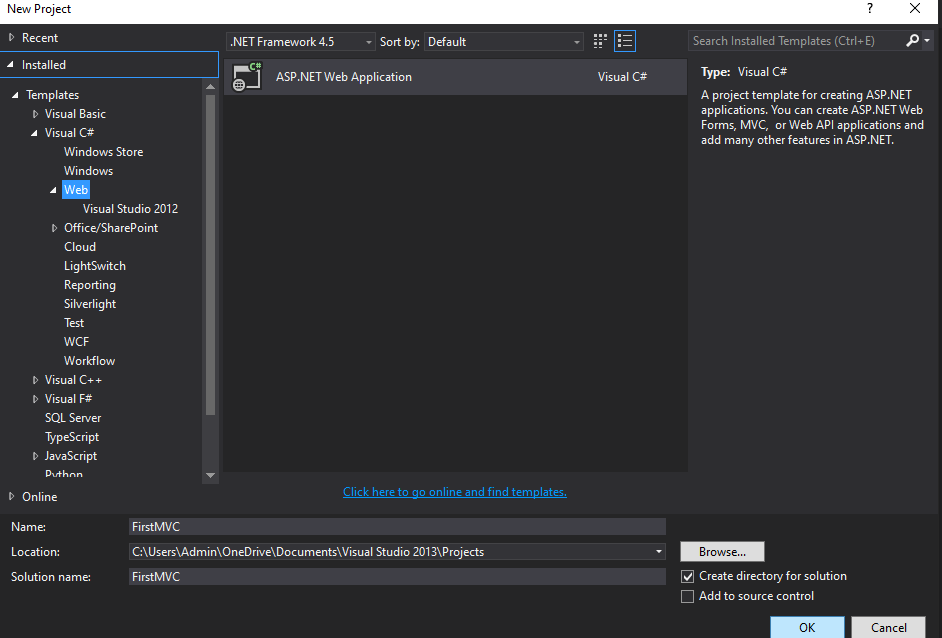
In the New Project dialog window, navigate to the Installed – Templates section and select the Web option under Visual C# from the left pane. From the middle pane, choose ASP.NET Web Application. Assign a name to your project, such as FirstMVC (you can choose any name for your application). To change the application’s location, click the Browse button and select your preferred directory. Finally, click the OK button, as shown in the image below.
after clicking the OK button, a dialog window named New ASP.NET Web Application will appear, allowing you to select a project template. In this window, choose the MVC project template. Then, set the authentication type to No Authentication. Finally, click the OK button, as shown in the image below.
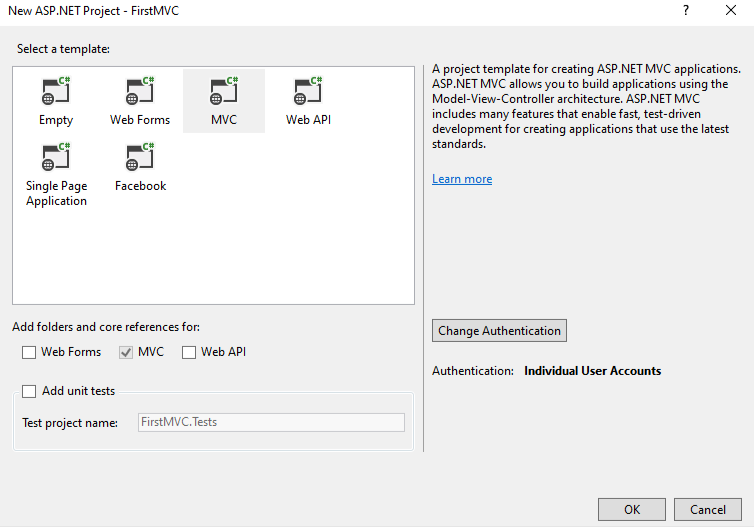
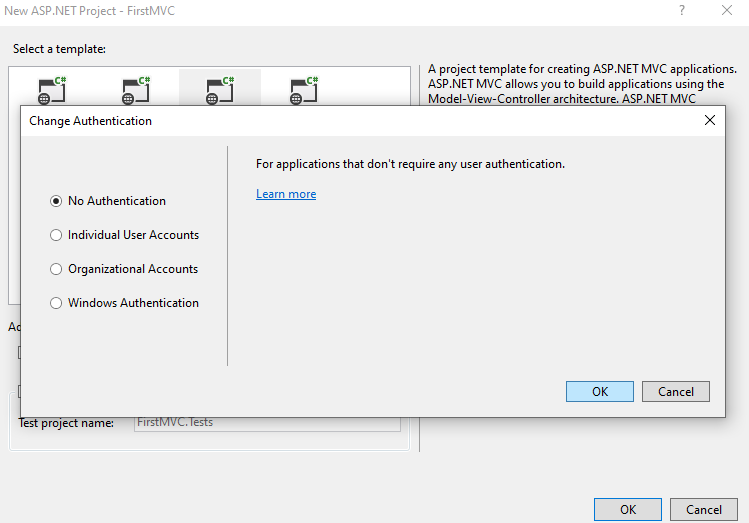
To adjust the authentication settings, click on the Change Authentication button. This will bring up a popup window where you can select the preferred authentication mode. As authentication is not required for this demo, choose the No Authentication radio button. Finally, click the OK button, as shown in the image below.
After you click the OK button, Visual Studio will take a moment to configure the project. Once the setup is finished, the project will be created with the default folder structure shown below.

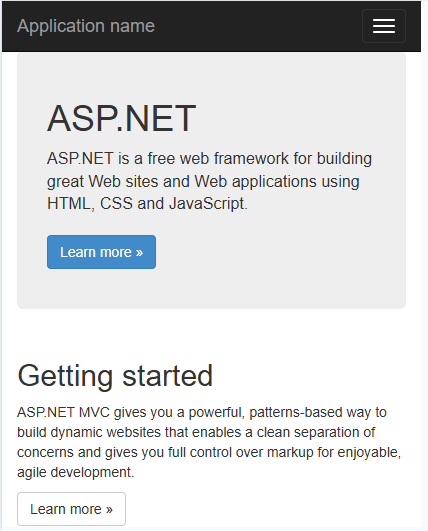
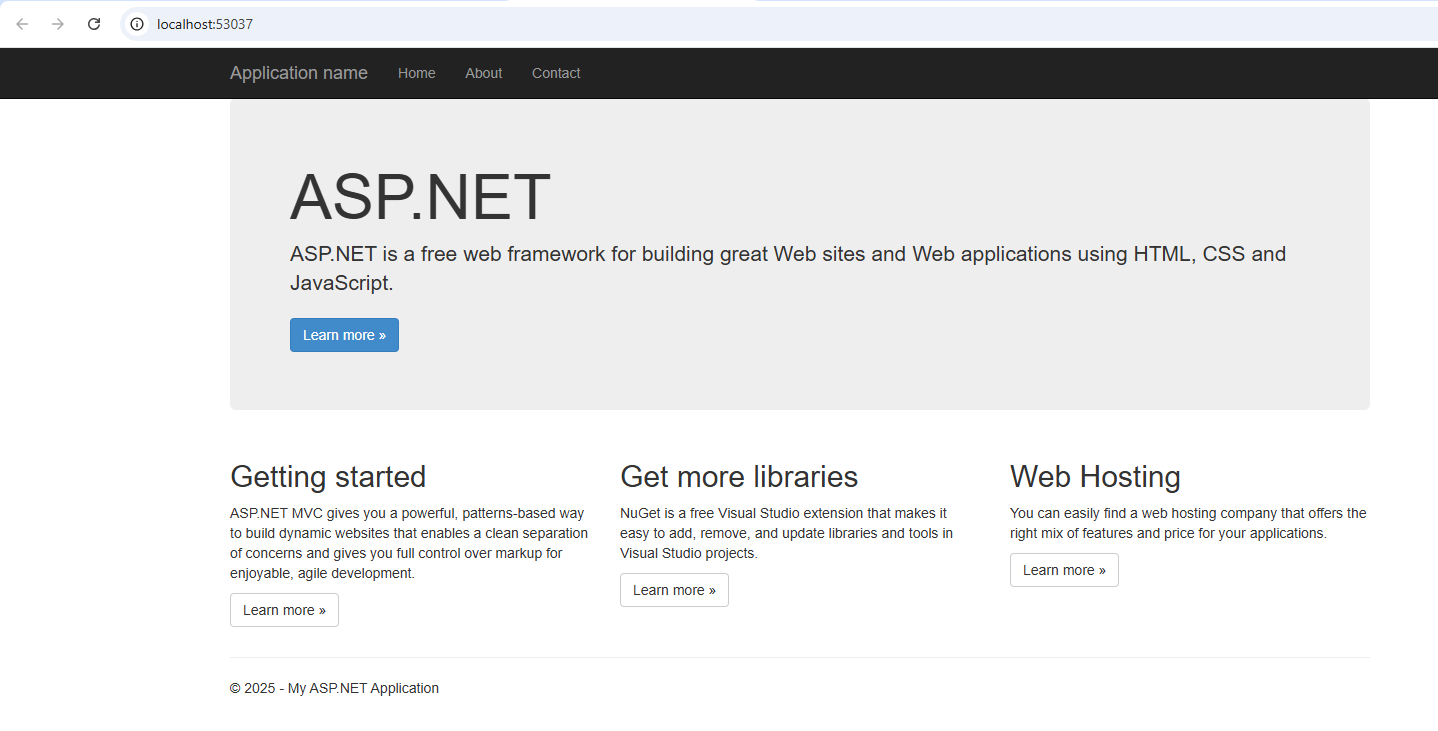
Output
Running the ASP.NET MVC Application:
The ASP.NET MVC 5 framework includes the necessary JavaScript and CSS files for Bootstrap by default, enabling you to build a responsive web page. A responsive web page dynamically adjusts its layout and design based on the screen size of the device accessing the application. For example, when the application runs on a mobile device, the top menu bar will automatically adapt, as illustrated in the image below.